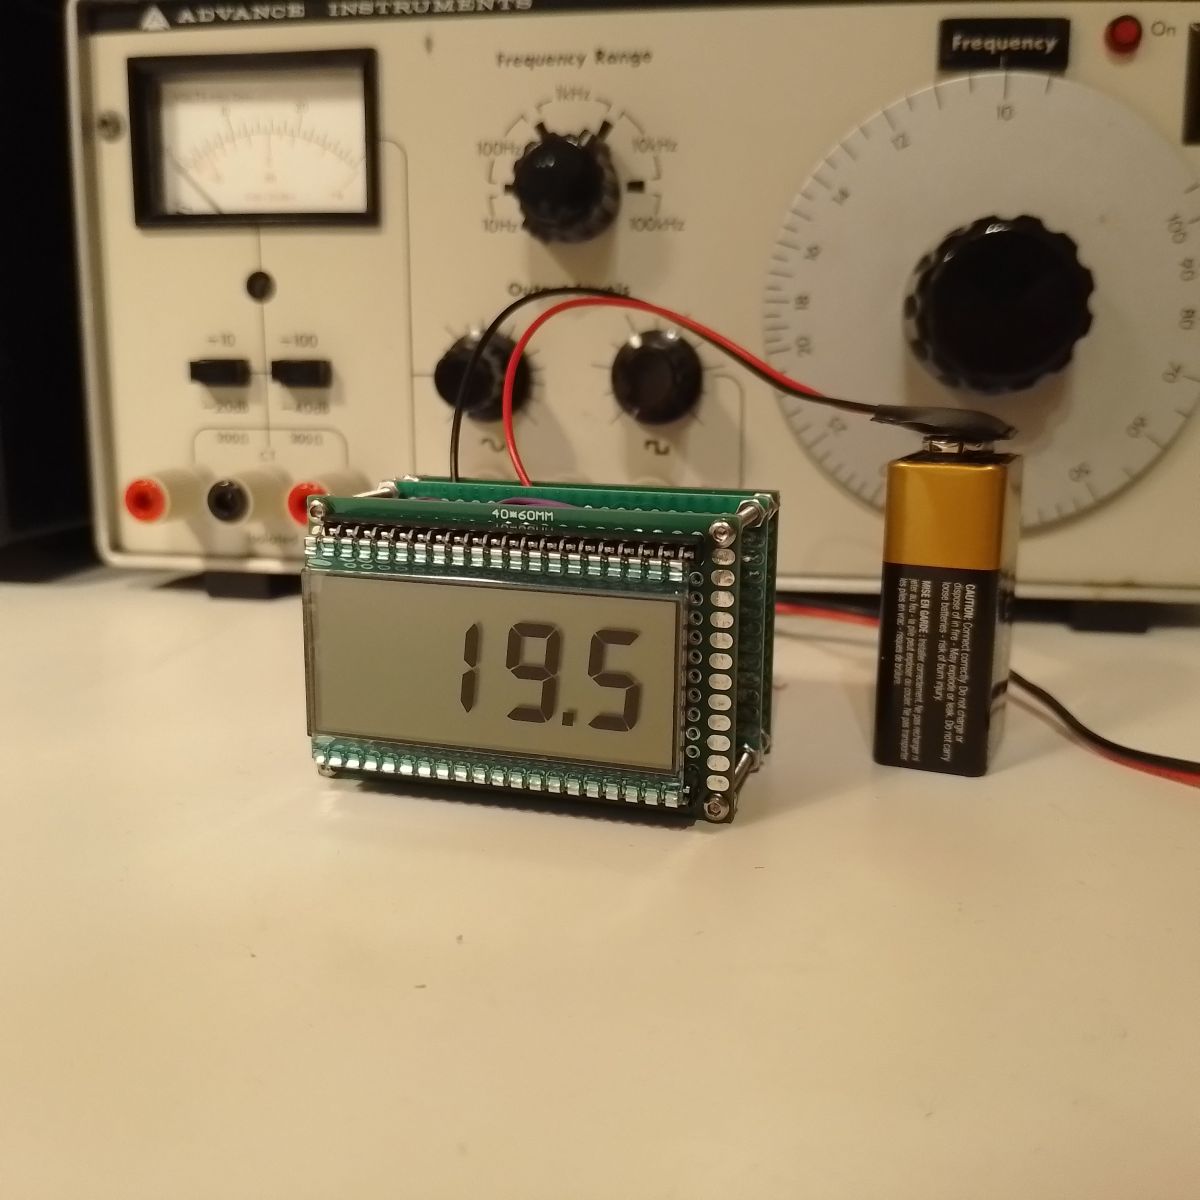
Digital temperature meter from 1977
This temperature meter is based on ICL7106 A/D converter and display driver IC from Intersil. In fact, this is almost identical to Fluke “429100” IC used in famous 8020A multimeter. “Almost identical” as in there was a lawsuit, but that would be a story for another time.
 When ICL7106 (for liquid crystal display) and ICL7107 (for LED-display) were released, electronics magazines were quick to develop projects around these ICs. Electronics today even had their own LED-display project just a year before, but it was obsolete pretty much overnight after the ICL710x series was released.
ICL7106 is still in production to this day in original 40-pin dip-package. For some reason this 45-year-old chip still costs 15 euros, so get used one from eBay. I don’t trust Chinese sellers, so I got mine from Czech Republic and my ICL7106 is manufactured by Tesla (the original one, not the current company) as MHB7106. These are used ICs, but so far all have worked perfectly. Very inexpensive too.
I used DE-113 liquid crystal display. There are various versions of this display, but I used the cheapest one I could find easily. I think it was under five euros from tme.eu. These displays might not have a standard pinout, so if you get unknown display… Well don’t. Or get the datasheet with it. All other components can be standard stuff and nothing special is needed. So maybe ten euros or so for parts.
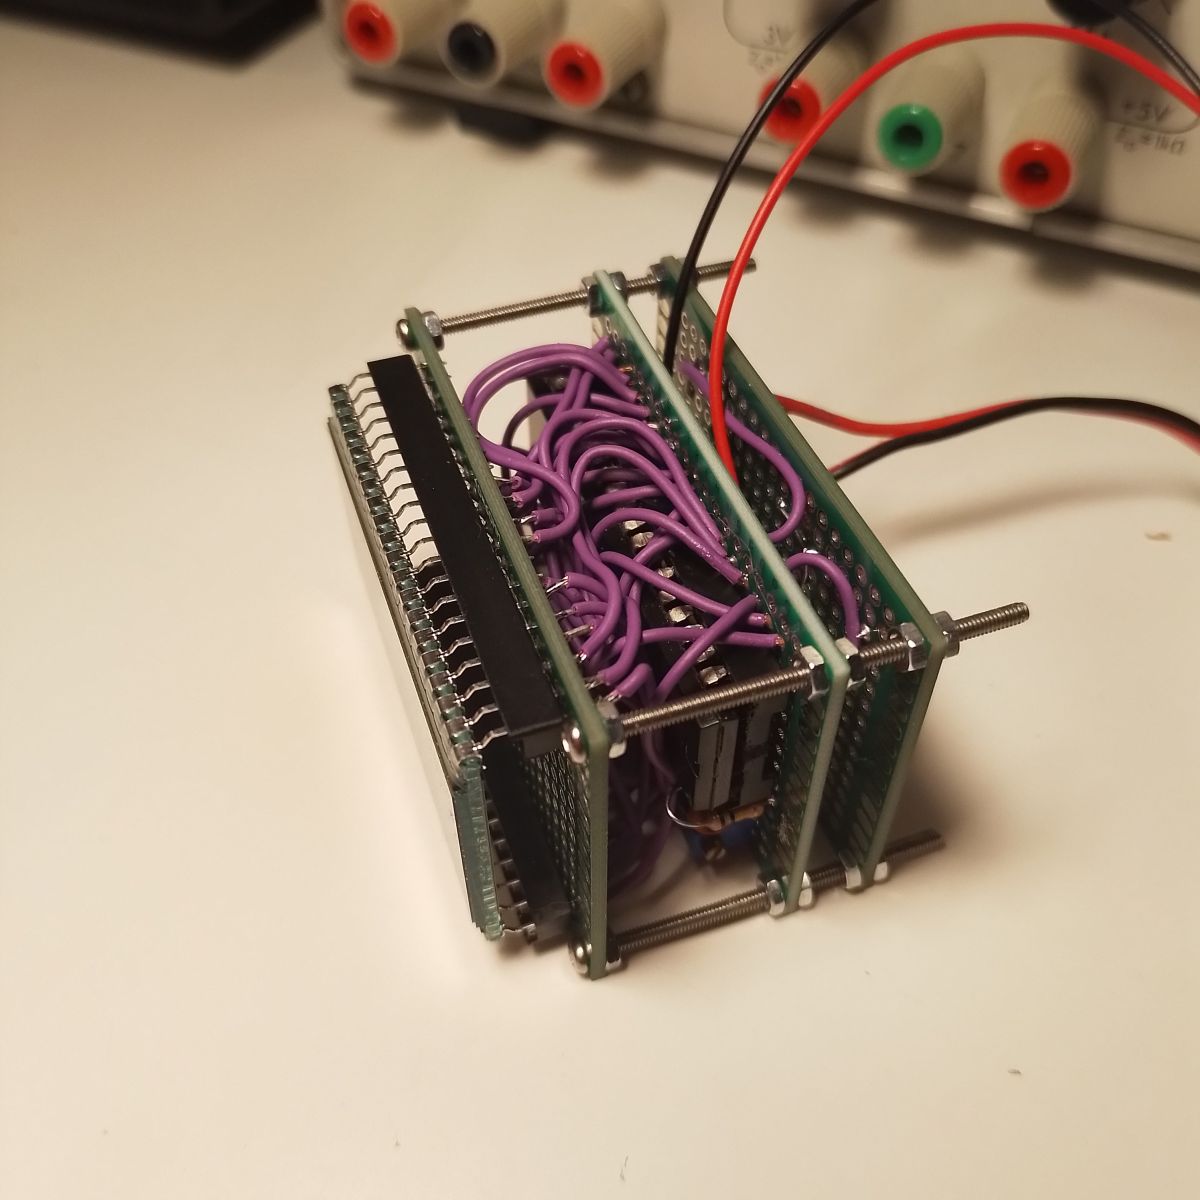
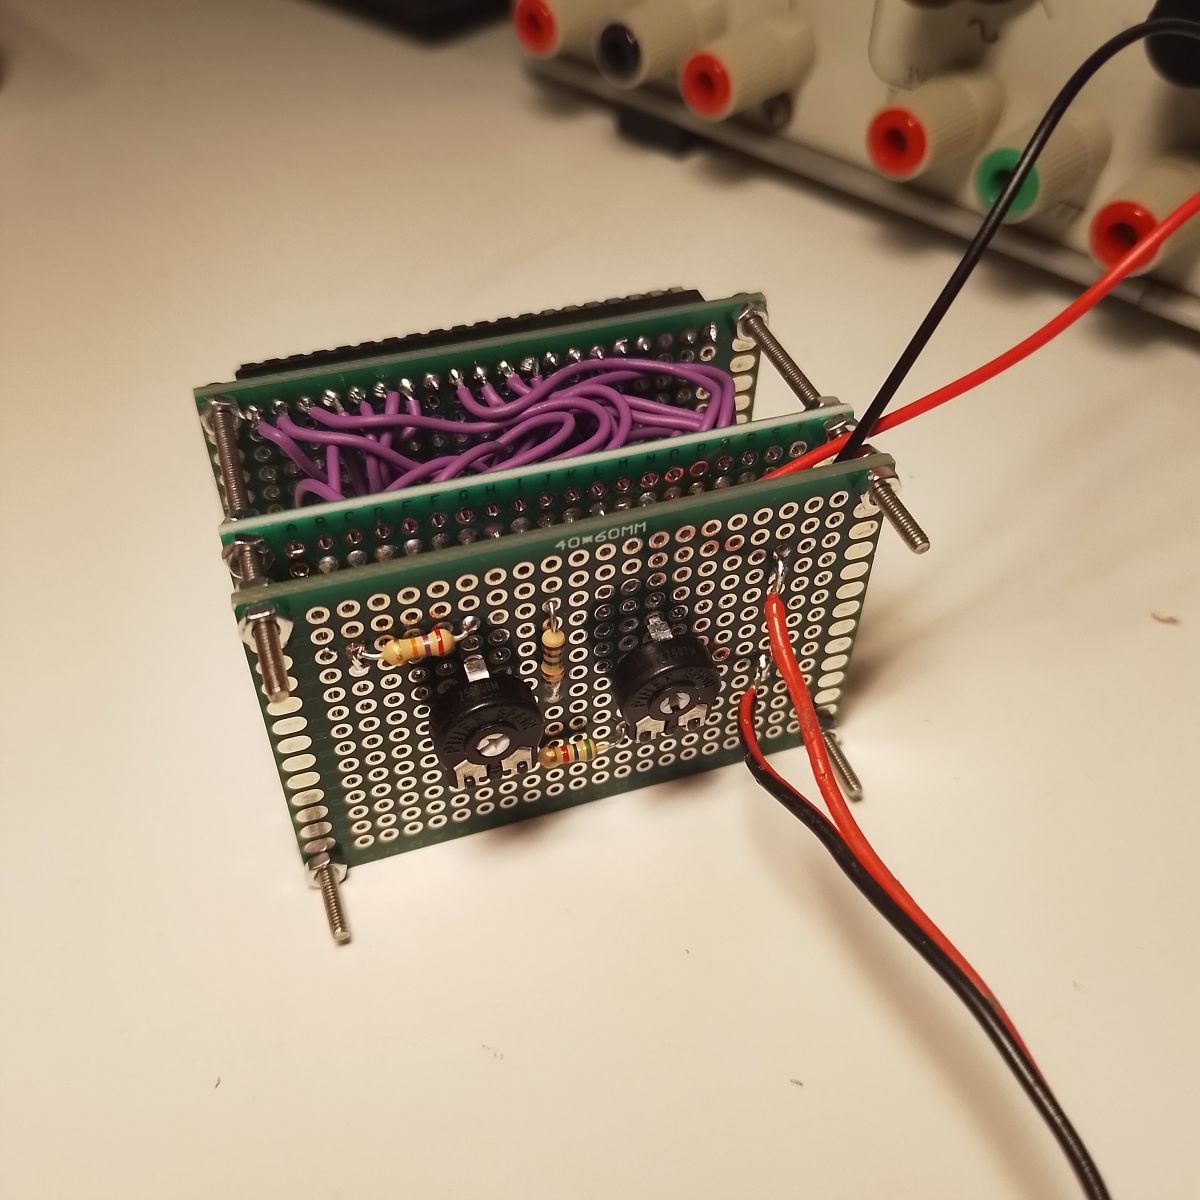
This is pretty intense and tight perf-board build, but 100% doable. Just take care and time when wiring the display. I used three boards. One for display, one for IC and its components and one for diode sensor and calibration resistors and potentiometers. One bigger board would be easier to build. I think. I just aimed for the small size. This meter will work between 7 and 12 volts and can be powered with nine-volt battery. But since current consumption is 1,5mA it’s not very long-lasting solution. I would estimate something like three weeks of battery life from nine-volt alkaline battery. You can use six AA-batteries for much longer battery life. Maybe about five times as long... This is just a guess.
Calibration might be a bit tricky too. We need two known temperature points. First we need a good solid 0°C. Since this might not be available I used ice cubes, water and salt. Nothing scientific. Just few ice cubes, little bit of water and some salt. This gave about -4°C according to my quick DS18B20 meter. Since I was making indoor temperature meter, I used room temperature for the second calibration point. I tried to use hot water, but it was cooling down so fast it was hopeless. If you are building indoor temperature meter as well, try to calibrate it for 15°C and 35°C. It should be more accurate.
After a bit of fiddling around I got it to follow my digital “reference meter”. And I have to say I’m happy with my new meter! This is nicer project than some generic Arduino temperature meter with blue character LCD. And I have to say this takes some skill to build too. Not to underrate anyone building Arduino stuff (I do that too!), everyone should build something with just hardware. It's essential skill to have, and it will also help to understand what software needs to do.
Read the original article here (pdf).


